jquery slideshow by WOWSlider.com v8.7


Quick Release Rope Gagby Rope Fashions
The problem with most gags is that they fasten behind the neck. If your partner is lying on her back on the bed, it is difficult to fasten the gag without catching her hair in it. And removing the gag quickly in an emergency is difficult, because you have to fumble behind her neck to undo it. This rope bit gag solves these problems. It is based on a Jack Ketch's knot, so if you know how to tie one, you're halfway there.
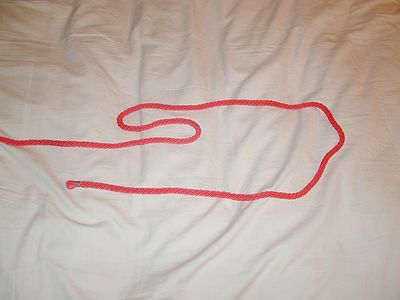
Step 1: We start with an 8- to 10-foot piece of rope. About three feet from the end, make an S-curve, a little wider than your fist. You will have to adjust the distance, depending on the size of your rope, and how tightly you wrap.
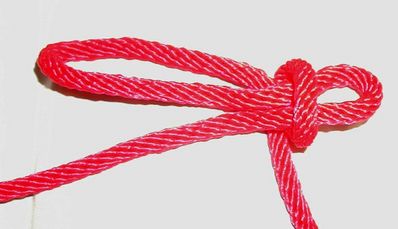
Step 2: Now grab the S-curve in your fist, and begin wrapping the three-foot end around it, moving toward the other end, and leaving a small loop sticking out.
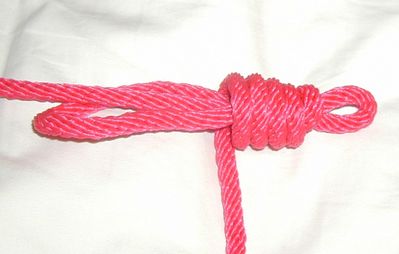
Step 3: Continue wrapping toward the other end.
Step 4: When you get to the point where there is just a tiny loop remaining on the side you are wrapping toward, stick the end you are wrapping through that loop. This is where you may have to adjust your initial three-foot distance. If there is too much rope left over after you stick the end through the loop, or too much loop sticking out when you run out of rope, you can change your starting distance as needed. This bit of trial and error won't slow down your scene, since you can make the gag up beforehand.
Step 5: Now grab the big loop, and pull it until the rope end is tightly trapped under the little loop. After you do this, the big loop may be too big. Just pull on the long end of the rope until the loop is the right size.
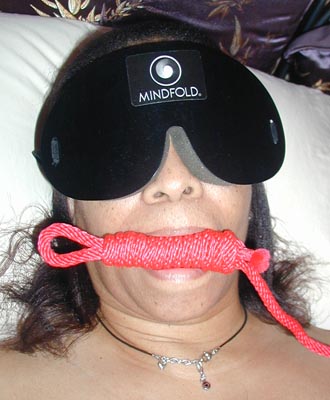
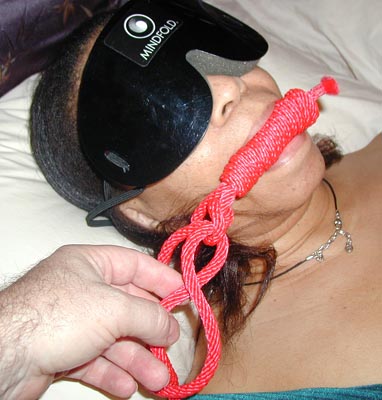
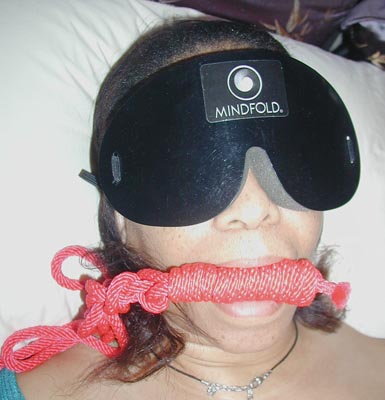
Step 6: Now we get to the fun part. Have your partner open her mouth, and put the bit between her teeth.
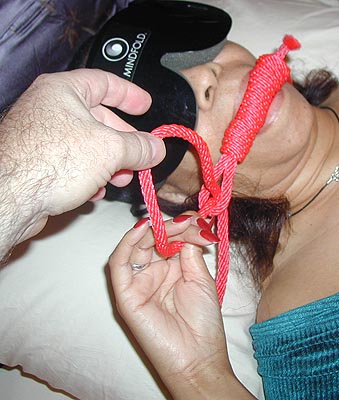
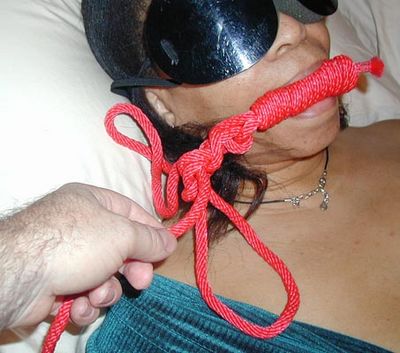
Step 7: Run the end of the rope under her neck, so that it come out on the same side as the loop.
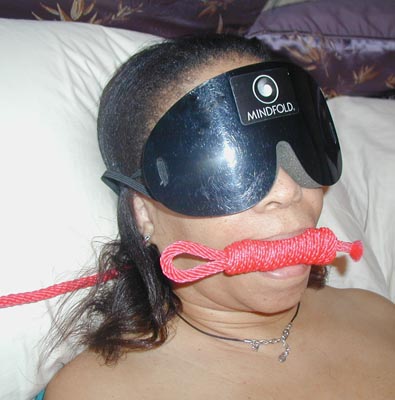
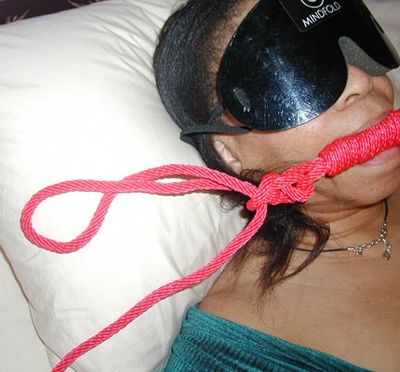
Step 8: Double the rope coming from under the neck, so it forms a loop. Stick this loop through the loop on the side of the gag. Pull it until the neck rope is snug, holding the gag in place. Hold the neck rope side of the loop, to keep the gag from loosening.
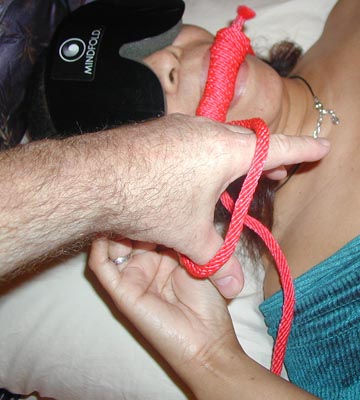
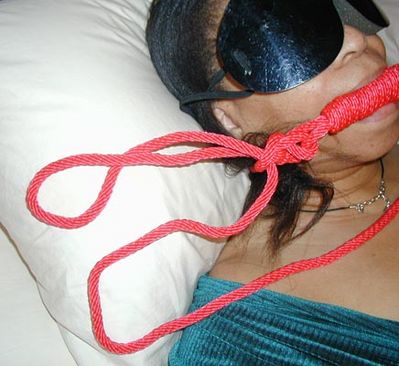
Step 9: Reach through the loop, and grab the free end of the rope.
Step 10: Pull the rope back through the loop, forming a new loop.
Step 11: Pull the loop until the first loop (the one you were holding to keep the gag snug) collapses. At this point, you can stop holding it, and the gag won't come loose.
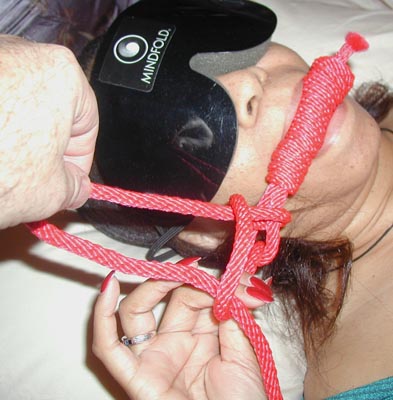
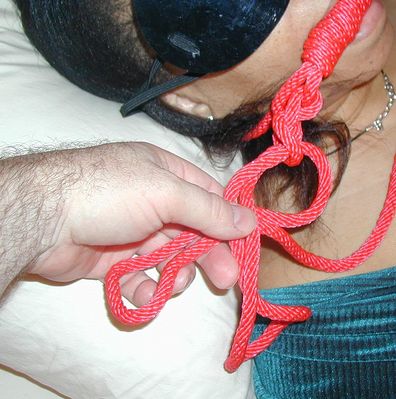
Step 12: Reach through the loop, and grab the free end of the rope. Pull it back through, forming yet another loop.
Step 13: Keep pulling on the loop until the previous loop collapses.
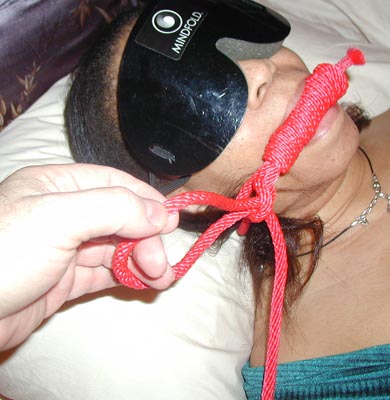
Step 14: Double the free end of the rope, forming a loop.
Step 15: Now cross one loop over the other.
Step 16: Take the top end under the bottom end, and pull it out of the loop, and pull it snug. This is easier than it sounds; it is the same as the first step you do when you tie a square knot, or tie your shoes.
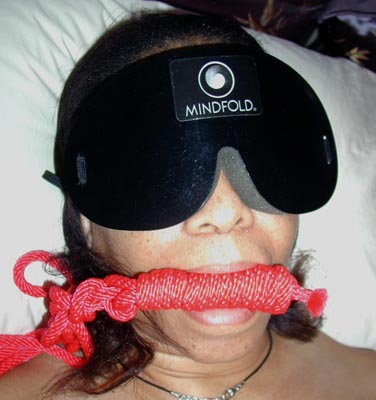
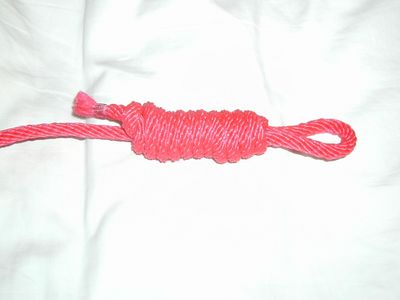
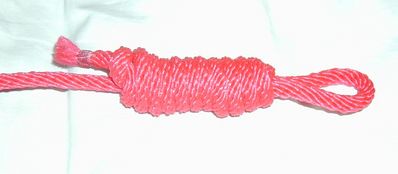
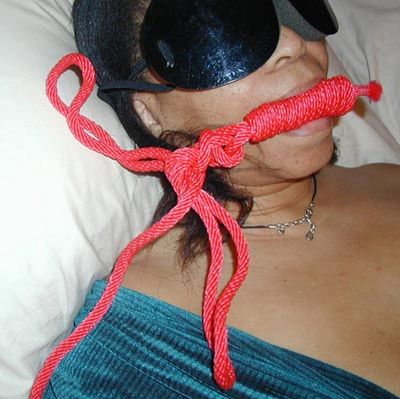
Step 17: The finished gag looks like this.
Step 18: The best part is when it is time to remove the gag. Since we basically chain-stiched the rope to fasten it in place, all we have to do is pull on the end of the rope, and the chain stitching comes apart, and the gag is out. No fumbling with knots or buckles, like with ordinary gags. I hope you enjoy the convenience and safety of this gag as much as we do. |
 Articles and Info
 Books
Books Contact
Us
Contact
Us Humor
Pages
Humor
Pages Links
Links Stories
 Training
 Welcome
Page
Welcome
Page