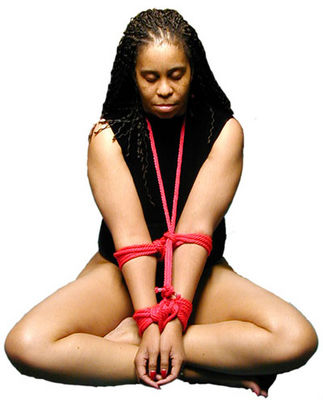
The Bow Tie is a comfortable, but hard-to-escape tie that your partner can stay in for a long time. My Mistress calls it the Bow Tie because when she is tied
this way on her back, she feels like a tightly-strung bow.
To do this tie, you will need about 30 feet of rope for the arms, and about 12 feet for the legs. We are using 5/16-inch MFP rope from Rainbow Rope, at
http://www.RainbowRope.com.
 Step 1:
Have your partner sit cross-legged, with her arms extended in front, and her palms together.
Step 1:
Have your partner sit cross-legged, with her arms extended in front, and her palms together.
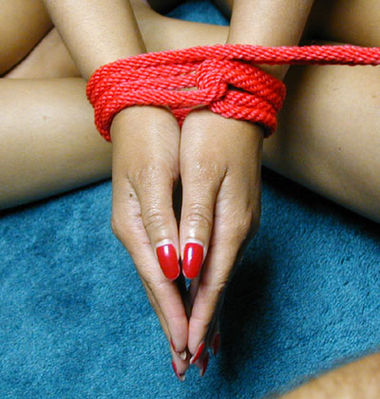
Take your 30-foot rope and double it. Wrap the loop around her wrists, then run the ends of the rope through the loop.
|
 Step 2:
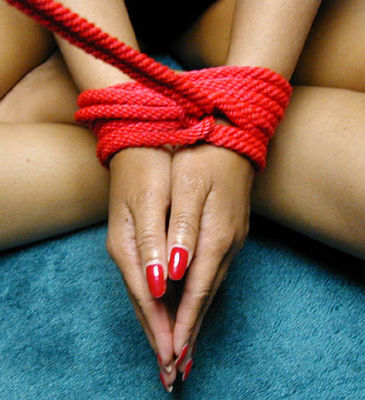
Wrap the rope in the opposite direction (so it pulls against the loop). Wrap three times around the wrists.
Step 2:
Wrap the rope in the opposite direction (so it pulls against the loop). Wrap three times around the wrists.
|
 Step 3:
Pull the ends through the loop that was formed when you reversed the direction of the rope.
Step 3:
Pull the ends through the loop that was formed when you reversed the direction of the rope.
|
 Step 4:
Wrap the rope between the wrists three times, forming cinch loops. The rope should be snug, but not too tight. You don't want to make your partner's hands fall asleep, or cause nerve damage, so be careful.
Step 4:
Wrap the rope between the wrists three times, forming cinch loops. The rope should be snug, but not too tight. You don't want to make your partner's hands fall asleep, or cause nerve damage, so be careful.
|
 Step 5:
Run the ends through the original loop, but don't pull it tight yet; leave a small loop.
Step 5:
Run the ends through the original loop, but don't pull it tight yet; leave a small loop.
|
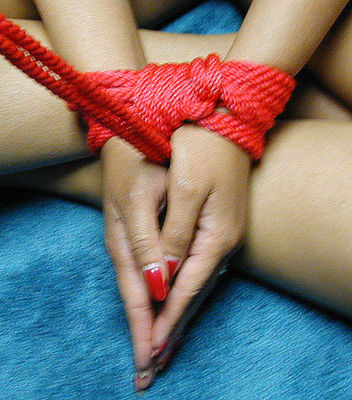
 Step 6:
Run the ends through that loop, forming a knot, and pull it snug. This will keep the wrists from tightening up.
Step 6:
Run the ends through that loop, forming a knot, and pull it snug. This will keep the wrists from tightening up.
|
 Step 7:
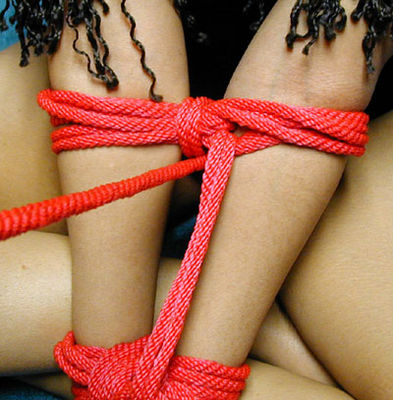
Now run the end up the arms. Just below the elbows, wrap the ropes once around the forearms, run the rope under itself, and start wrapping in the other direction.
Step 7:
Now run the end up the arms. Just below the elbows, wrap the ropes once around the forearms, run the rope under itself, and start wrapping in the other direction.
|
 Step 8:
Do two or three wraps. The wraps should be just below the elbows. You should not wrap across the elbow joint itself, because there are a lot of nerves
and blood vessels there.
Step 8:
Do two or three wraps. The wraps should be just below the elbows. You should not wrap across the elbow joint itself, because there are a lot of nerves
and blood vessels there.
|
 Step 9:
Run the rope ends through the loop that was formed when you reversed directions, then wrap crosswise, forming cinch loops. Again, you want the rope to be snug,
not tight.
Step 9:
Run the rope ends through the loop that was formed when you reversed directions, then wrap crosswise, forming cinch loops. Again, you want the rope to be snug,
not tight.
|
 Step 10:
After you do three crosswise wraps, run the ends through the loop formed when you reversed direction.
Step 10:
After you do three crosswise wraps, run the ends through the loop formed when you reversed direction.
|
 Step 11:
Run the ends under the wrist to elbow rope but don't pull them tight yet; leave a small loop. Run the ends through that loop, forming a knot to keep the
elbow ropes from tightening up.
Step 11:
Run the ends under the wrist to elbow rope but don't pull them tight yet; leave a small loop. Run the ends through that loop, forming a knot to keep the
elbow ropes from tightening up.
|
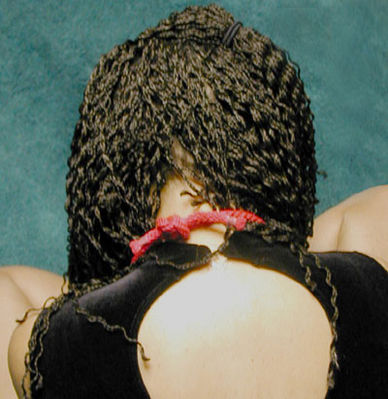 Step 12:
Take the ends, and run them up either side of the neck. Tie them together behind the neck. Make the knot a little off center, so it is not resting against the spine.
Step 12:
Take the ends, and run them up either side of the neck. Tie them together behind the neck. Make the knot a little off center, so it is not resting against the spine.
|
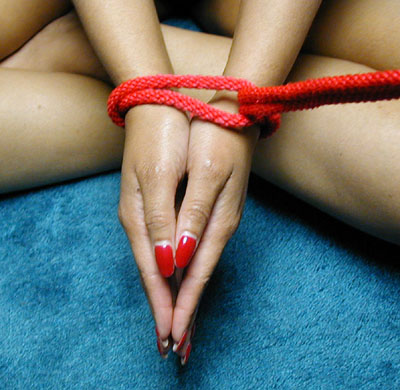
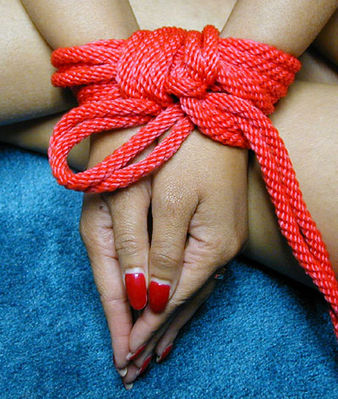
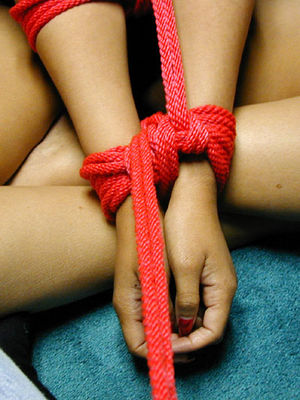
 Step 13:
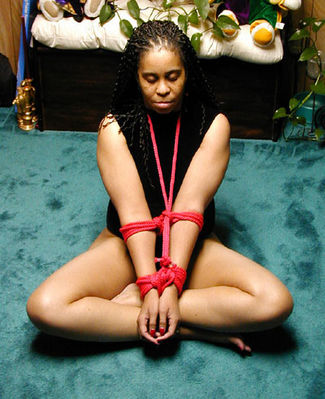
The completed arm bondage looks like this.
Step 13:
The completed arm bondage looks like this.
|
 Step 14:
To do the ankle tie, take your 12-foot rope and double it.
Step 14:
To do the ankle tie, take your 12-foot rope and double it.
Wrap the loop around the ankles, then run the ends through the loop, just like you did for the wrists.
|
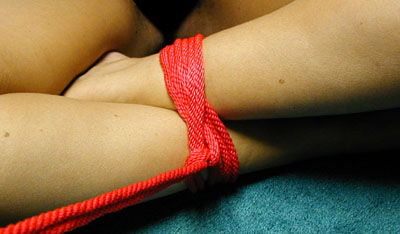 Step 15:
Reverse direction, so the rope is pulling against the loop, and do two or three more wraps around the ankles, then pull the ends through the loop that was
formed when you reversed directions.
Step 15:
Reverse direction, so the rope is pulling against the loop, and do two or three more wraps around the ankles, then pull the ends through the loop that was
formed when you reversed directions.
|
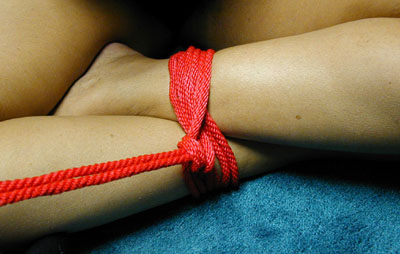 Step 16:
We will not be using cinch loops for the ankles, as they tend to tighten up and get uncomfortable very rapidly.
Step 16:
We will not be using cinch loops for the ankles, as they tend to tighten up and get uncomfortable very rapidly.
Take the ends of the rope, run them under the wraps. Do not pull them tight yet, but leave a little loop. Run the ends through the loop, forming a knot
that will keep the ankle wraps from tightening up.
|
 Step 17:
You should have a couple of feet of rope left.
Step 17:
You should have a couple of feet of rope left.
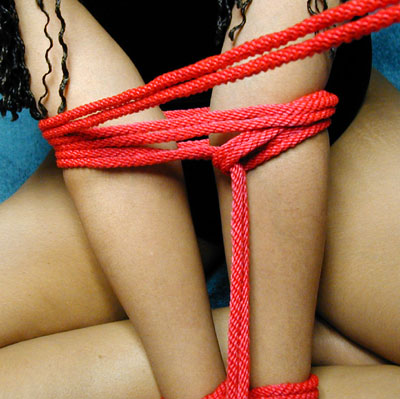
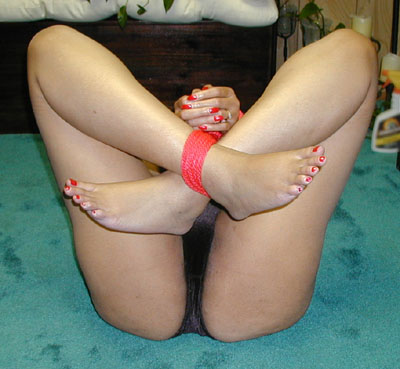
Take the remaining rope from the ankle tie, and run it between the forearms, then over the wrist wraps.
|
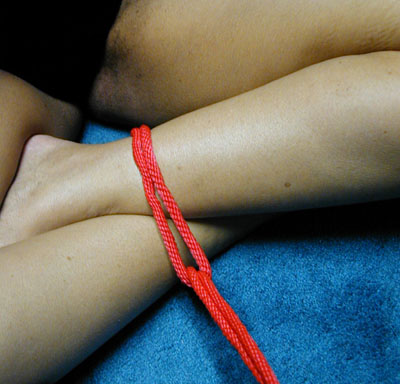
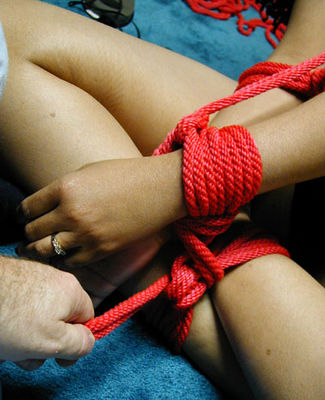 Step 18:
Run the ends down to the ankle wraps, then run them under the ankle wraps, capturing the wrists in place.
Step 18:
Run the ends down to the ankle wraps, then run them under the ankle wraps, capturing the wrists in place.
|
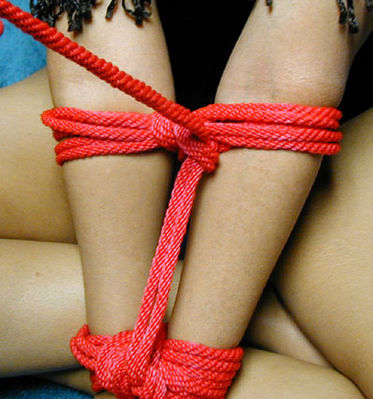
 Step 19:
Bring the rope back up between the wrists, and cross the ends behind the wrist-to-elbow rope.
Step 19:
Bring the rope back up between the wrists, and cross the ends behind the wrist-to-elbow rope.
|
 Step 20:
Tie a square knot to finish off the tie.
Step 20:
Tie a square knot to finish off the tie.
|
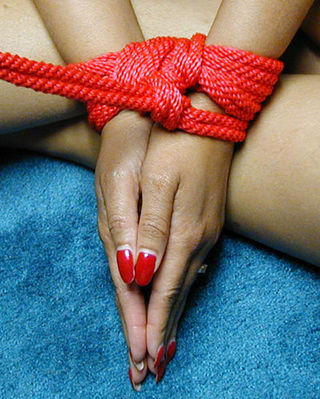
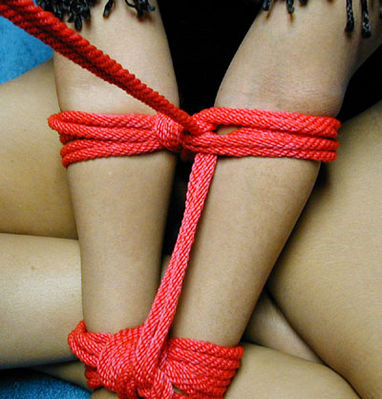
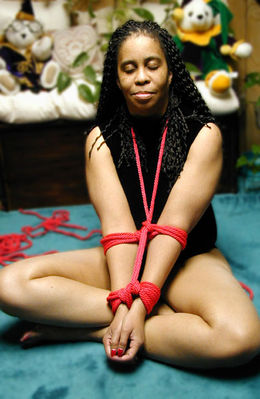
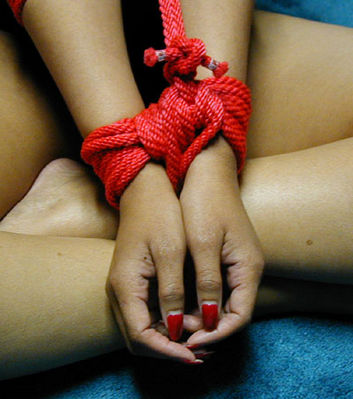
 Step 21:
The completed tie looks like this.
Step 21:
The completed tie looks like this.
|
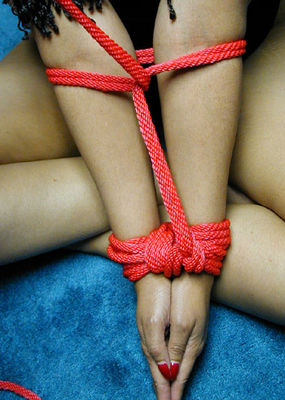
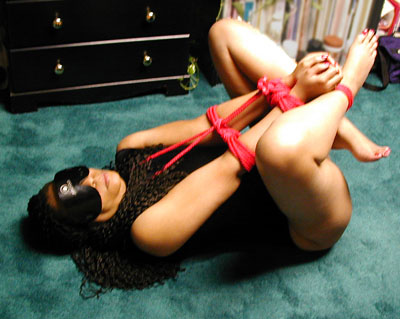 Step 22:
If you want to have more access, just roll her on her back, like this.
Step 22:
If you want to have more access, just roll her on her back, like this.
|
 Step 23:
Or like this.
Step 23:
Or like this.
I hope you enjoy this tie as much as we do.
Have fun, and play safe!
|


 Articles and Info
 Books
Books Contact
Us
Contact
Us Humor
Pages
Humor
Pages Links
Links Stories
 Training
 Welcome
Page
Welcome
Page