|
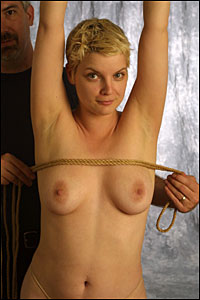
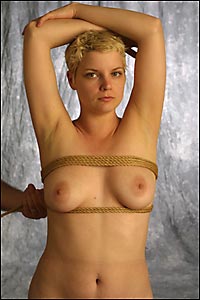
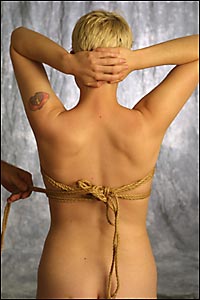
Step 1:
Start by doubling a twenty-five or thirty foot length of rope. Wrap around the top of the breasts once.
|
|
|
|
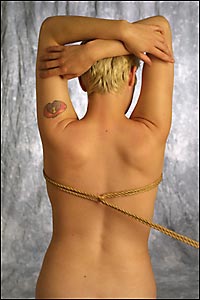
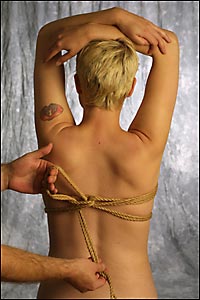
Step 2:
Catch this in the back with a lark's head knot.
|
|
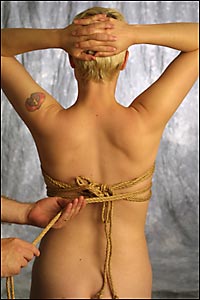
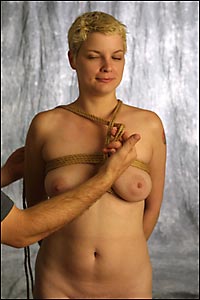
Step 3
Wrap again around the front, making sure your ropes line up evenly.
|
|
|
|
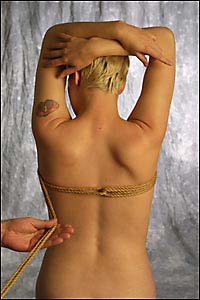
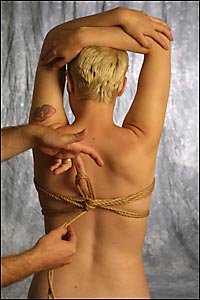
Step 4:
Run your lines through the lark's head, evening out the tension.
|
|
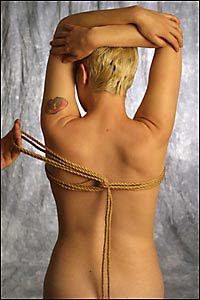
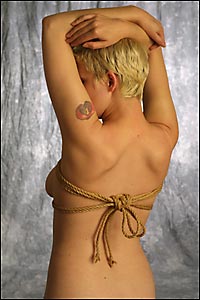
Step 5:
Another wrap around in the other direction, underneath the breasts.
|
|
|
|
Step 6:
Bring the end of the rope through to the back again.
|
|
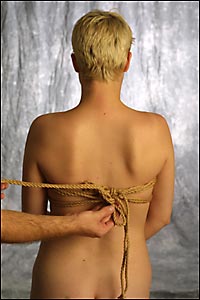
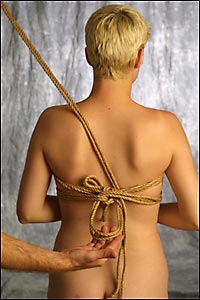
Step 7:
Now I'm going to finish this with a kind of over-large bow for illustration purposes, but there are any number of methods to do this.
|
|
|
Step 8:
Even things out a bit and ...
|
|
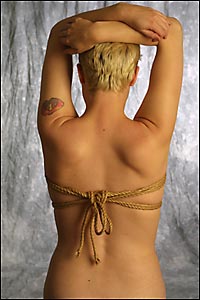
Step 9:
Voila.
|
|
|
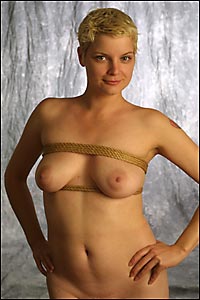
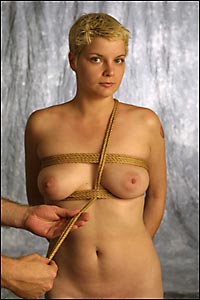
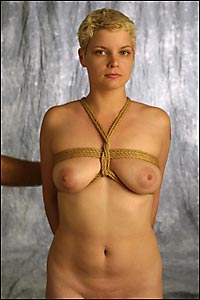
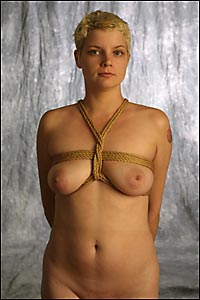
Step 10:
Here we are - four strands above, and two below.
|
|
Step 11:
On to part two. Start again by doubling your rope, then tie a knot around the center section.
|
|
|
Step 12:
What knot, you might ask. Well, I used a simple overhand knot here - make's it easier to untie later (than a lark's head.) With hemp, this will hold, but
you might want to go with a square knot or something else, especially if you're not using hemp.
|
|
Step 13:
Pass once around, underneath the breasts ...
|
|
|
Step 14:
After sliding the rope to catch its own starting pair of strands, and bring the working end up.
It's best to go from one side, and then over the opposite shoulder, otherwise you get a kind of suspender straps kind of thing, which isn't what we're
going for in this one.
Ignore the two dangling strands here - they're left over from when we shortened up those large loops earlier.
|
|
Step 16:
Now, once under the bottom four strands.
|
|
|
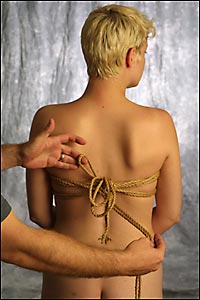
Step 16:
A couple of simple crossings - I know, my hand's in the way. Just hit next.
|
|
Step 17:
There.
|
|
|
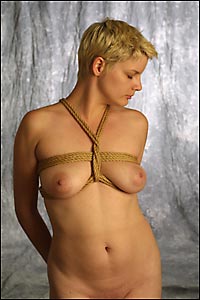
Step 18:
One more knot in the back, and you're finished.
|
|
Step 19:
On last shot of Rose, she's more than worth it.
|
|


 Articles and Info
 Books
Books Contact
Us
Contact
Us Humor
Pages
Humor
Pages Links
Links Stories
 Training
 Welcome
Page
Welcome
Page