
|
Step 1:
There are a lot of different variations on the basic Shinju tie. It's one reason why it is easily the most popular. You dont have to start right at this point,
or with exactly this pattern to make this add-on work. Just follow the basic principles, and make a few things up as you go.
|

|
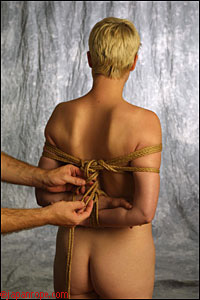
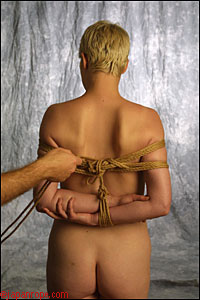
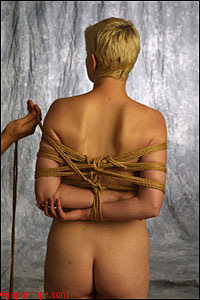
Step 2:
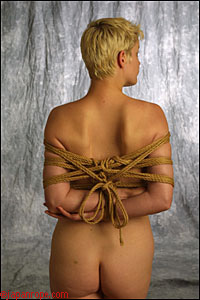
Here we are at the back of the finished Shinju covered in Tutorial 3. We want to add some rope. Take a doubled length of rope and knot it to this portion of
your workings.
|
|
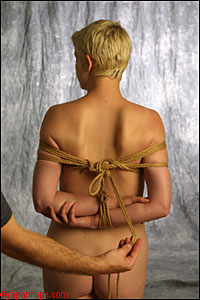
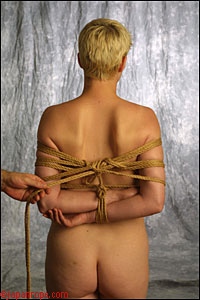
Step 3:
I'm going to tie my bight off to this section, and rather than just securing it to the horizontal ropes. I'm making sure to go also around the verticle part that
is holding the wrists up. This will prevent the ropes from loosening unintentionally as the knot might slide a bit with tension if only fixed on one axis.
The knot is a simple overhand knot. You could also use a lark's head - I often do here - but by knotting this rather than running your working ends through the
bight, it is easier to undo or shift around later.
|
|
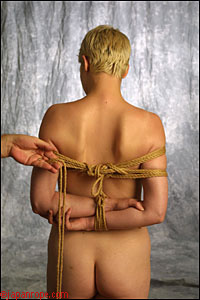
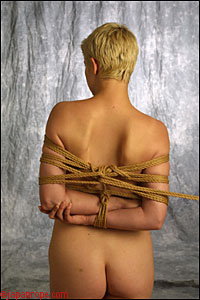
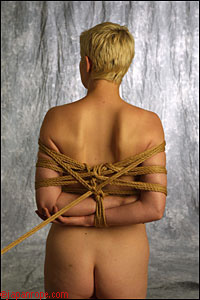
Step 4:
There. Note that with the original tie, there are four lines above the breasts, and two below. What we're going to do is make this whole thing more secure.
|
|
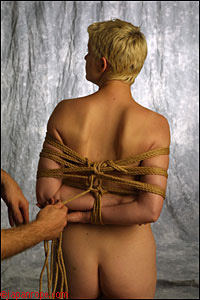
Step 5:
The doubled rope goes around the front, and under the breasts once.
|
|
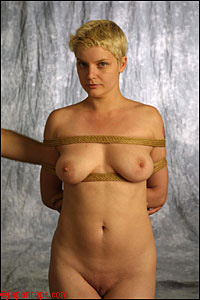
Step 6:
Here it is from the front.
|
|
Step 7:
Pass the working end behind a verticle element and then up to the top of the center knot...
|

|
Step 8:
The reason we went up with the last rope becomes clear - as we then create this diagonal from that point to just above the elbow that's both structurally sound and
good looking. Then the rope goes under the arms and to the other side.
|
|
Step 9:
Around your diagonal, adjusting for postion and tension for this new element, and back again the same way, between the arms and the back...
|
|
Step 10:
Again, to even out the tension, pass this rope around the section you just did.
|
|
Step 11:
And now we see one of the great reasons for leaving those small loops. Remember how the wrist tie had that small loop? Well, here we put it to use, threading
our two loose ends of rope through the loop on the wrist...
|
|
Step 12:
And then up to just above the ropes that cross the upper arms.
|
|
Step 13:
Wrap around the body and back down through the loop at the wrists. You'll get a front view in a moment, but from here you'll want to tie off in some fashion --
we're done.
|
|
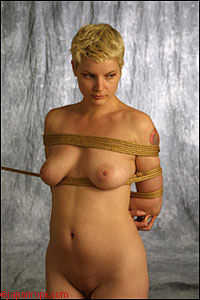
Step 14:
Here's a view from the front. Note that we now have six ropes running above the breasts, four below, and four keeping the elbows in place around the arms in
back. Tie off your rope in any fashion you like.
|
|
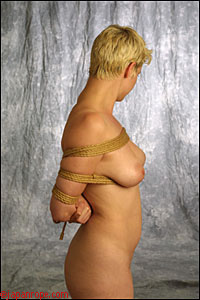
Step 15:
Here's a side view.
|
|
Step 16:
And a rear view with a simple bow.
|


 Articles and Info
 Books
Books Contact
Us
Contact
Us Humor
Pages
Humor
Pages Links
Links Stories
 Training
 Welcome
Page
Welcome
Page