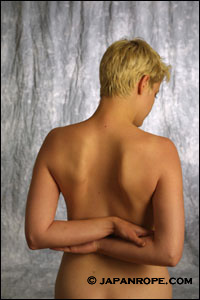
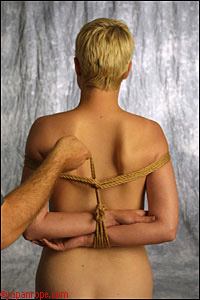
Step 1:
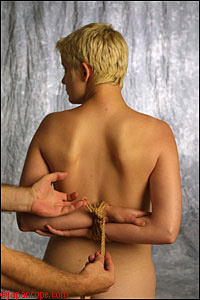
Here we start by having our subject place their hands in back.
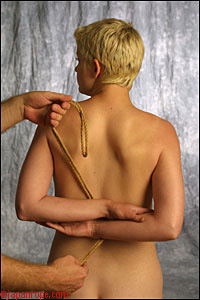
Step 2:
With the now familiar doubled length of rope, measure enough of the looped end to wrap around the wrists two or three times. The reason we do this with the
bight end is so that we don't have to run the entire long end around the wrists -- pretty obvious, but in the heat of play you forget these kinds of things.
Step 3:
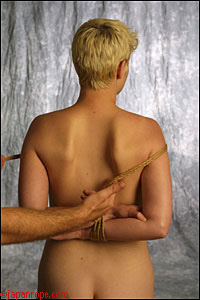
Leave a little extra ...
Step 4:
... wrap the looped end behind all the strands. This is so that when pulled, the rope won't noose up on the wrists under pressure and cut off
circulation in the wrists.
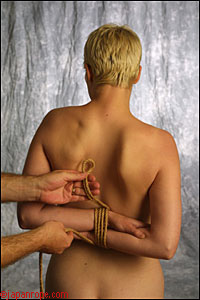
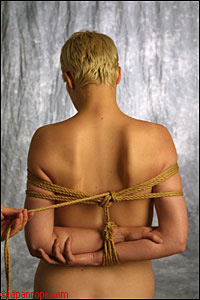
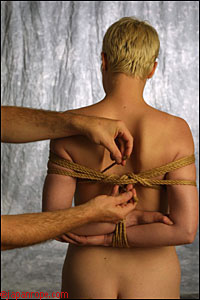
Step 5:
Tie off with a simple square knot, leaving a tad bit of loop to possibly be used later.
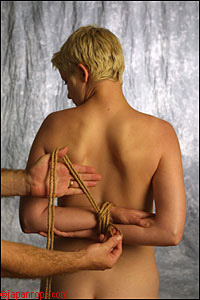
Step 6:
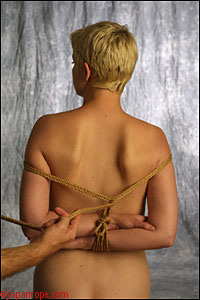
Next, take the loose end around the front, over the breasts. Keep tension on this line with the right hand as well. Why will become apparent in a moment ...
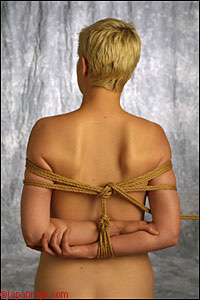
Step 7:
...because the next step is to run your line behind that spot and support the wrists.
Step 8:
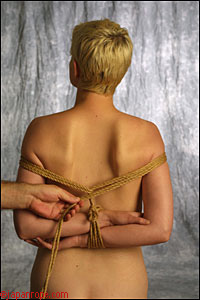
Pull up a bit to get things centered.
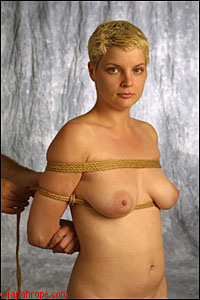
Step 9:
And wrap around the front, on top of the breasts again. Line up your rope strands for that clean look.
Step 10:
Catch the center section going the other way.
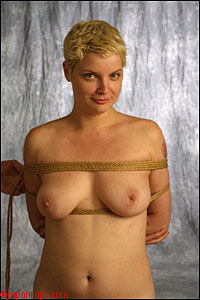
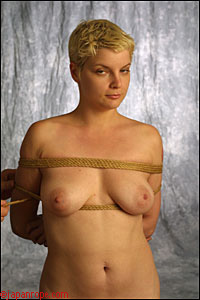
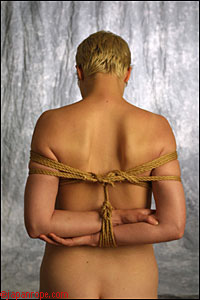
Step 11:
Then go once under the breasts. This is how it should look from the front.
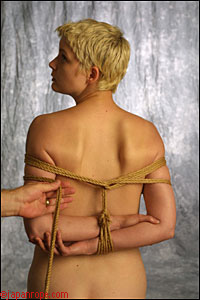
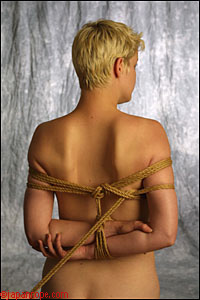
Step 12:
... and the back.
Step 13:
Just wrap to balance this out before the next steps ...
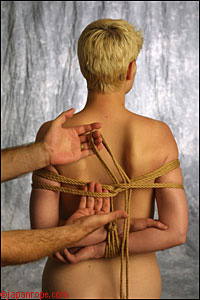
Step 14:
And now under one arm and towards the front ...
Step 15:
... and under the bottom strands.
Another good way to do this is to bring the top strands down a bit on the arms and cinch both top and bottom together, but we're just going to do the bottom
ones in this tutorial.


 Articles and Info
 Books
Books Contact
Us
Contact
Us Humor
Pages
Humor
Pages Links
Links Stories
 Training
 Welcome
Page
Welcome
Page