|
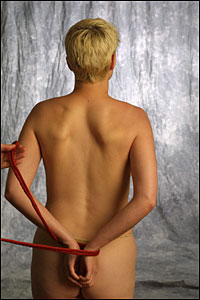
Step 1:
This tie is pretty easy. Let's start by wrapping the wrists just as we've done before: around a couple times with the bight end of a doubled rope.
|
|
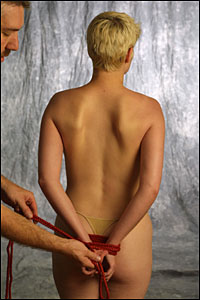
Step 2:
Two or three times around...
|
|
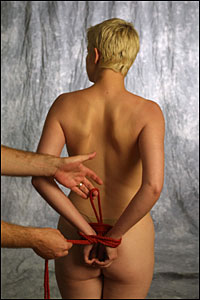
Step 3:
...and through the center of the wrists. See how we're using the working end of the rope (in my right hand)? That's so the rope doesn't "slip-knot"
around the wrists, cutting off circulation.
|
|
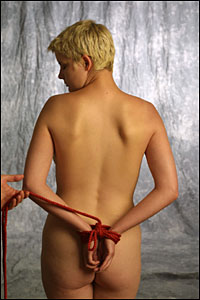
Step 4:
Knot this up and we're here. Simple wrist tie, knot on top, with a small loop that might come in handy if you're feeling clever.
|
|
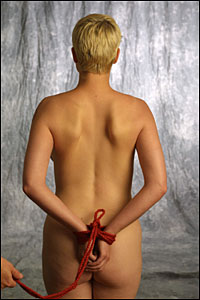
Step 5:
I've only repositioned this a bit, nothing has really changed.
|
|
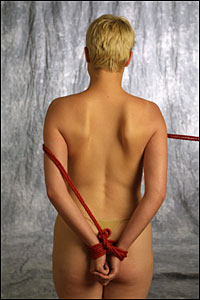
Step 6:
Once around the body, above the breasts, with your doubled rope.
|
|
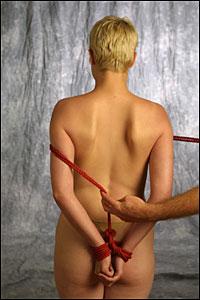
Step 7:
Pick up the line here to give it some tension, keeping the line from falling down and your partner from spinning like a top.
|
|
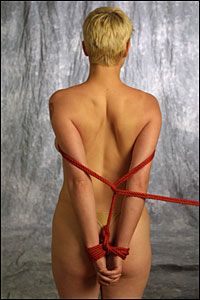
Step 8:
Now we go once around that rope in back, about elbow height
|
|
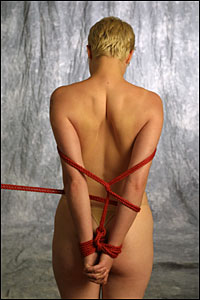
Step 9:
Around the forearms once.
|
|
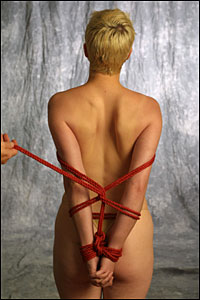
Step 10:
Note how the ropes form a kind of X pattern at this point. This is what we're shooting for.
|
|
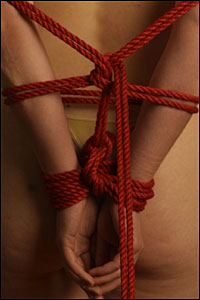
Step 11:
A close up of how we did the ropes. We want to keep the final product from moving around, shifting, and generally falling apart on us -- so we've under that
center tension point, then over the top and under before going to the next step.
|
|
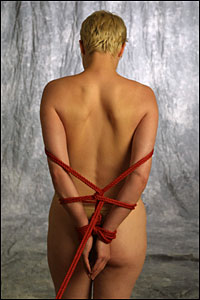
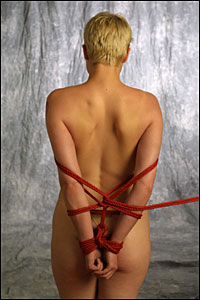
Step 12:
Now we go under or over the bottom-right portion of the X.
|
|
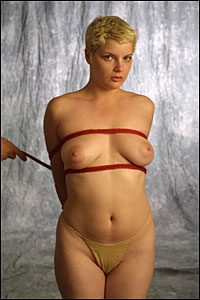
Step 13:
And now we take it around the breasts again. This time underneath, returning to the back and running the rope under the arms, and then behind our center structure.
|
|
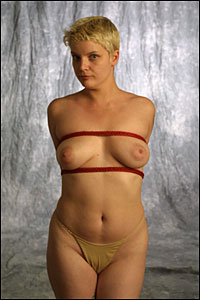
Step 14:
Here's what it looks like from the front at this point. A clean, simple look from this view -- the band above the breasts goes around the arms, the band below
does not.
|
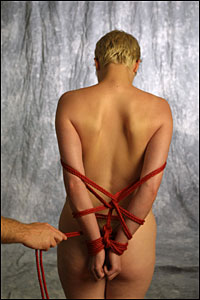
|
Step 15:
Almost done. One of the neat things about this tie is that there are almost no knots. It goes a lot quicker than you might think. Once more around the
forearms, lower than the first pair...
|
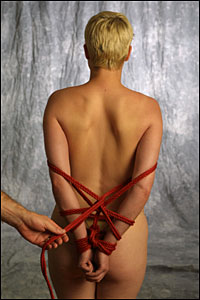
|
Step 16:
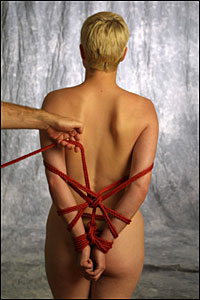
And then up again to the same place that this rope last went around the center spot
|
|
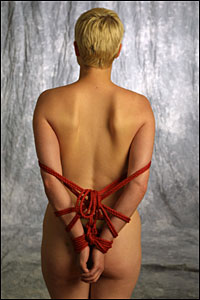
Step 17:
Under and around to balance things out.
|
|
Step 18:
Snug up whatever needs adjusting, and finish with a bow as I have, or another solution for whatever is left over is to go straight back down to the wrists.
A third idea might be to seperate your doubled rope - one end going right, the other left - and wrap the lines going above and below the breasts, bringing
them closer together and adding a bit more tension to the whole array.
|
|
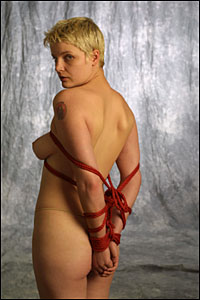
Step 19:
A last look from the side. Simple in front, complex in back. A good tie, with only two knots: one to start, one to finish it.
|

|


